10m Air Pistol for Beginners: Stance, Grip and Trigger
by Juily23 Oct 2026No likes yet
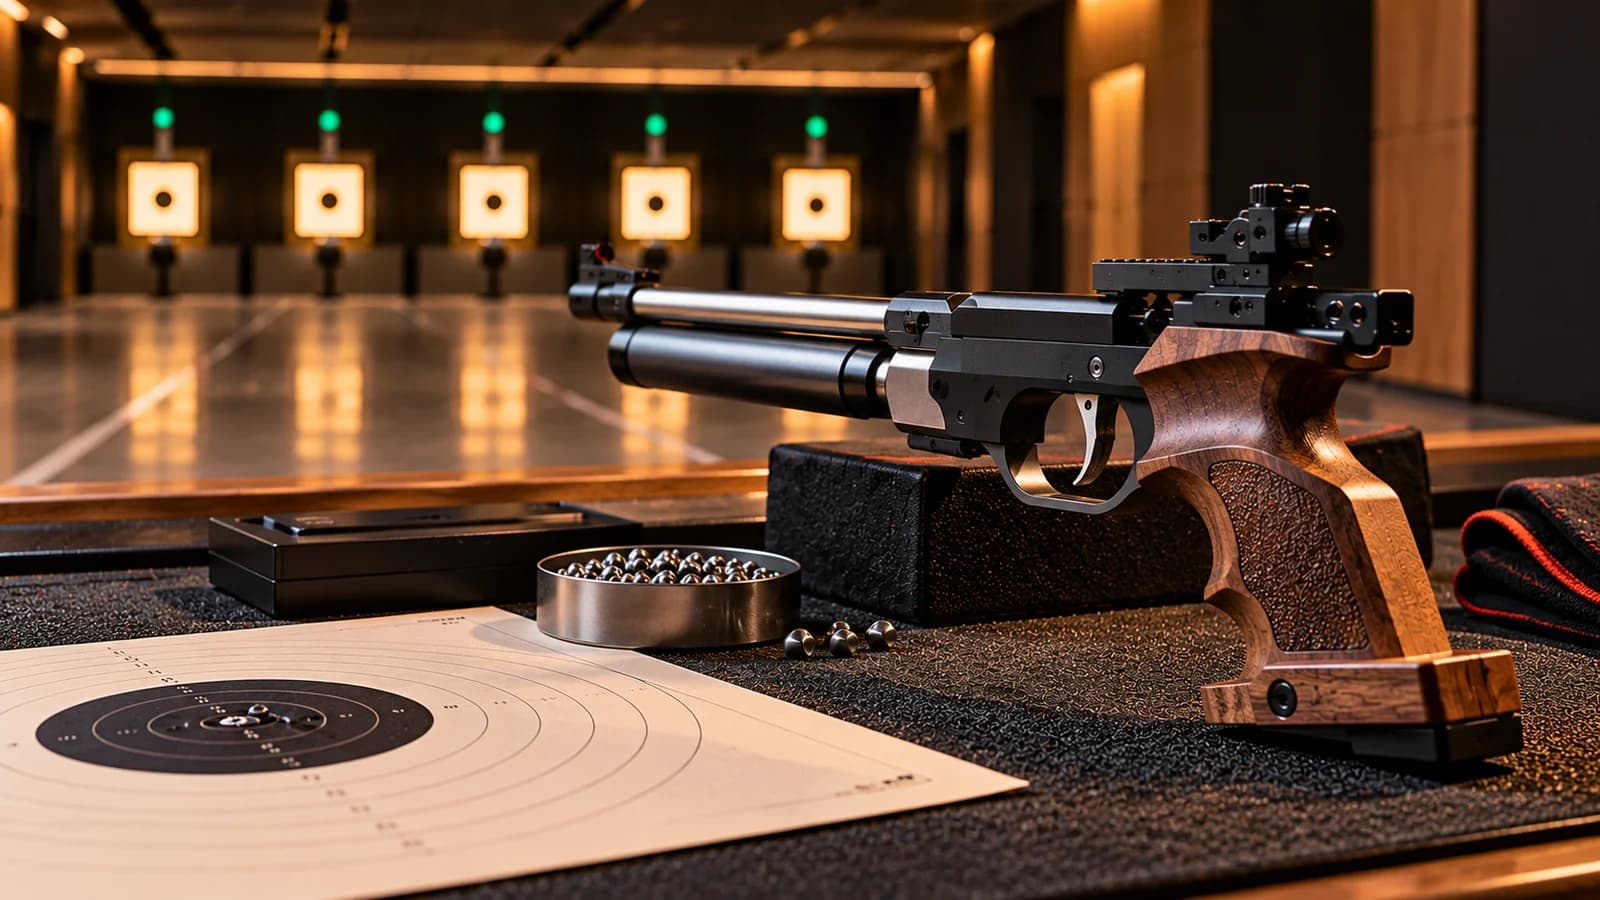
- 10m Air Pistol
10m Air Pistol looks simple from the outside. One hand, one pistol, one target, ten metres away. Anyone who has tried it knows the hard part: holding a pistol still with one arm for a full match while the black aiming area seems to move around on its own.
This guide explains the event, the basics of stance and grip, and a simple plan for your first few weeks at the range.
The event in short
- Distance: 10 metres
- Pistol: a 4.5 mm (.177) air pistol, held and fired with one hand
- Position: standing, with no support for the arm or wrist
- Qualification: 60 shots for both men and women, scored in whole numbers (a 10 is a 10, with no decimals)
- Final: the top eight shooters shoot a separate final where scores start from zero
The 10 ring on the pistol target is 11.5 mm wide, much larger than the rifle 10 ring, but you are holding the pistol in one hand at arm's length, so it does not feel easy at all.
ISSF rules also control the equipment: the pistol may not weigh more than 1.5 kg, and the trigger must need at least 500 grams of pressure to release. These rules exist so that skill, not equipment, decides the result.
Stance: build it from the ground up
A good stance lets your skeleton hold the weight instead of your muscles. Your coach will adjust this for your body, but the usual starting point is:
- Feet about shoulder-width apart, weight spread evenly between both feet.
- Body turned away from the target so the shooting arm points at it naturally. Many right-handed shooters stand with the left shoulder turned back, somewhere between 45 and 90 degrees to the target line.
- Knees straight but not locked, hips level.
- Free hand relaxed, often resting in a pocket or on the belt so it does not swing.
- Head upright and turned towards the target. Avoid tilting the head to meet the sights; bring the sights up to the eye.
A quick check: close your eyes, raise the pistol, open your eyes. If the sights point well away from the target, move your feet instead of forcing the arm across. Repeat until the natural point of aim sits on the target.
Grip: firm, the same every time
The grip should be firm enough that the pistol does not move in the hand, and relaxed enough that the trigger finger can move on its own.
- The pistol sits high in the web between thumb and index finger, in line with the forearm.
- Pressure comes mostly from the middle and ring fingers pulling straight back, not from squeezing with the whole hand.
- The thumb rests along the side without pressing.
- The trigger finger touches the trigger with the first pad and does not touch the side of the frame.
Most competition pistols have adjustable or custom grips. A grip that fits your hand makes a real difference, but get it fitted after you have learned the basics.
Aiming: focus on the front sight
Pistol shooters aim with open sights: a rear notch and a front blade. The classic beginner mistake is to look at the target. Your eye can only focus on one distance at a time, and for pistol it should be the front sight, sharp and centred in the rear notch, with the target slightly blurred.
Most shooters aim in the white area just below the black aiming circle (a "6 o'clock" or "sub-6" hold) instead of trying to sit the sights in the middle of the black. It is easier to see the sights against white. Your coach will help you set the sights for the hold you choose.
The trigger: a smooth, straight press
Most low scores in pistol come from the trigger, not from the hold. A good trigger release:
- Starts while the sights are settling, not after they are "perfect"
- Increases pressure smoothly and straight back
- Surprises you slightly when the shot breaks
- Is followed by a moment of holding still ("follow-through") after the shot
Dry firing at home with an unloaded pistol (where your local rules and your coach allow it) is the fastest way to improve the trigger. Five minutes a day helps more than an extra hour once a week.
A simple first-month plan
Week 1: Stance and grip only. Holding drills with the pistol for 10 to 20 seconds, then rest. No scores.
Week 2: Dry firing with a focus on the front sight and a smooth trigger. Begin live shots on a blank card so you are not distracted by score rings.
Week 3: Shoot groups of five on the target. Look at how close the shots are, not where they are.
Week 4: Build a shot routine you repeat for every shot: grip, raise, settle, aim, press, follow through, lower, rest. Shoot two or three series of 10.
Build strength slowly
Holding a pistol at arm's length gets tiring quickly. Light, regular holding exercises (with the pistol or a similar weight) and general shoulder and core strength help a lot. We cover simple routines in our article on fitness and holding exercises for shooters.
Keep a record from day one
Write down what you worked on, how many shots you fired, and one thing that went well. After a few weeks you will be able to see which changes helped. Our article on why every shooter should keep a shooting diary explains what to record.
Frequently asked questions
Is 10m Air Pistol harder than 10m Air Rifle? They are hard in different ways. Pistol depends more on trigger control and holding with one arm. Rifle depends more on a stable body position. Try both and see which one you enjoy.
Do I need my own pistol to start? No. Most clubs have pistols for beginners. Buy your own only after a few months, with your coach's advice.
Can left-handed people shoot pistol? Yes. Use your dominant hand and, usually, your dominant eye. Grips are made for left-handed shooters too.
What comes after 10m Air Pistol? Many pistol shooters later add 25m events. You can read about all the disciplines in our guide to ISSF shooting events.
Looking for a place to start? Browse shooting ranges and clubs by state on the ranges page.
Like, save and write your own blogs in the app.